The products and services mentioned below were selected independent of sales and advertising. However, Simplemost may receive a small commission from the purchase of any products or services through an affiliate link to the retailer's website.
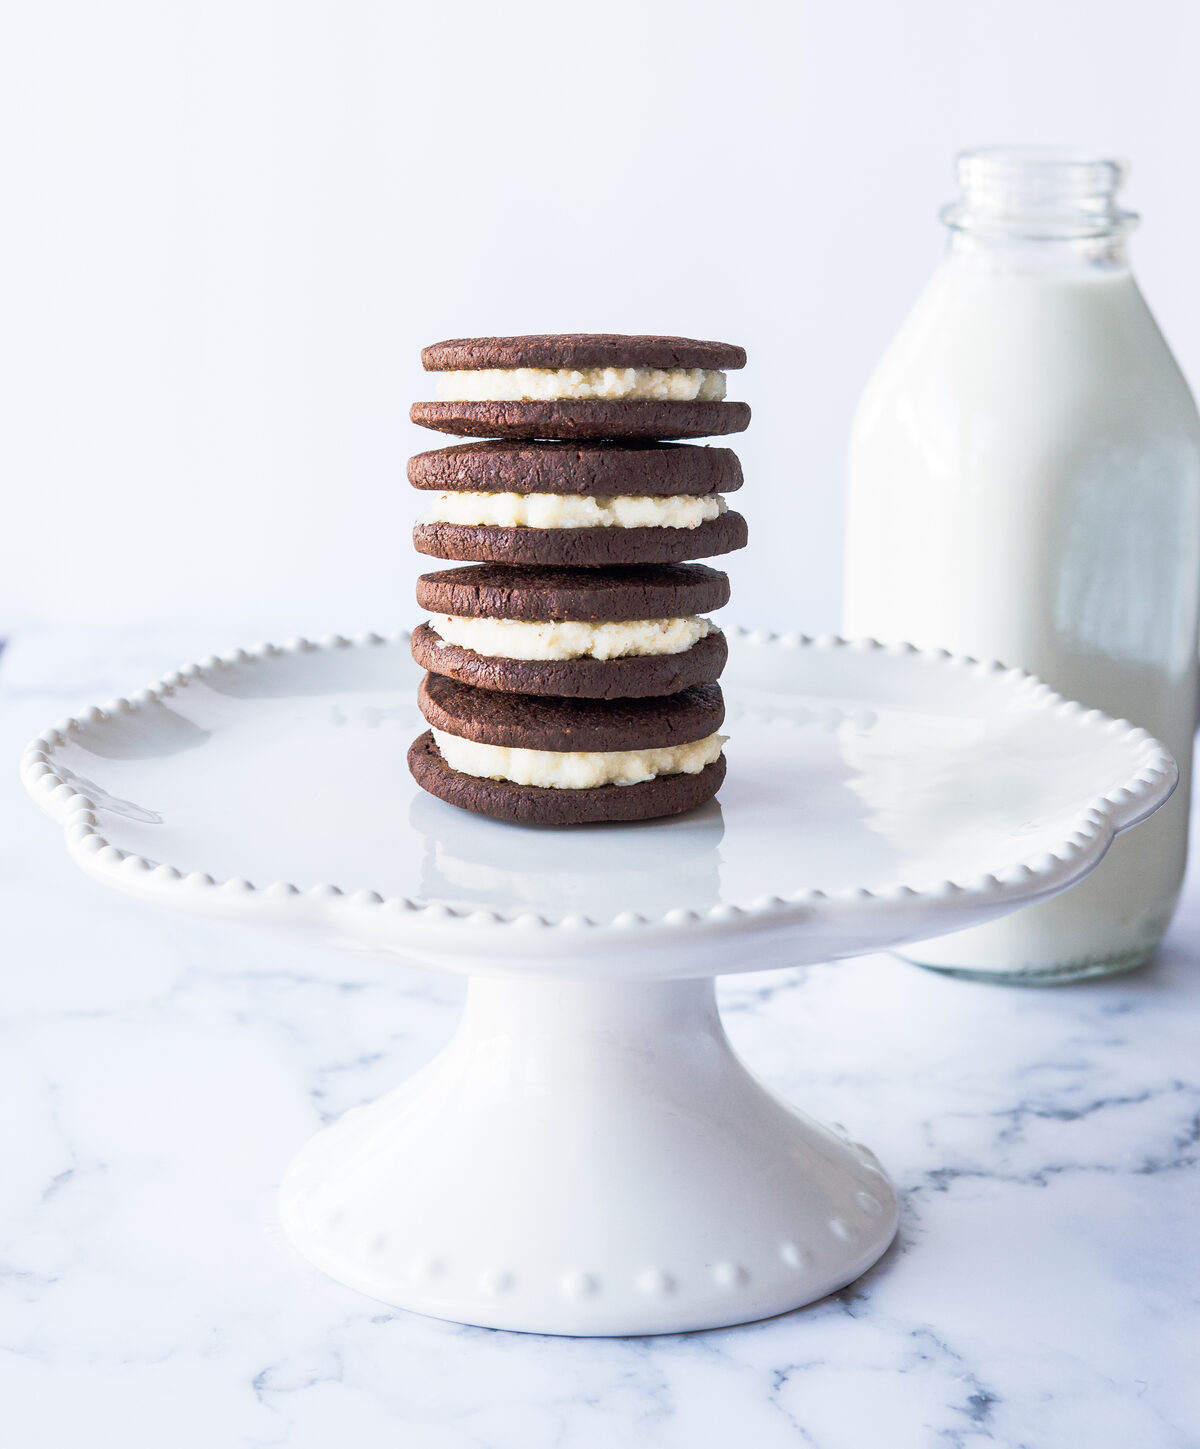
Oreo cookies have been around for more than a century — and for good reason. The classic combination of chocolate cookies and a sweet, creamy center make it one of the most popular snacks around. And, as if they aren’t amazing enough on their own, Oreos are part of some tasty recipes, including these no-bake truffles.
But, have you ever thought about baking your own batch of Oreo cookies?
Trying to capture that tasty magic in your kitchen might sound intimidating, but there’s a recipe out there that may change your mind and inspire you to make your own Oreos!

This homemade Oreos recipe is part of the cookbook “50 Things to Bake Before You Die” by Allyson Reedy, available on Amazon for $19.99. The book features a collection of recipes from highly-regarded bakers and bakeries.
This particular recipe comes from award-winning baker Joanne Chang, the owner of Flour Bakery in Boston. In the book, readers learn that Chang developed her own version of the classic cookie because her mother did not allow commercially-made treats in their home when she was a child.
But, don’t worry! Chang’s mom is a big fan of this recipe, as well.
These from-scratch Oreos have the bonus of a thicker cookie base, and, of course, you can go beyond Double Stuf with the filling if you choose.
If you’re ready to give these homemade Oreos a try, we have the full recipe below. So gather those ingredients and get baking! Can’t you just imagine how good these will be with a tall glass of cold milk?
Homemade Oreos By Joanne Chang
Makes 16-18 sandwich cookies.
Ingredients
For the cookies:
- 1 cup (2 sticks) unsalted butter, melted
- ¾ cup sugar
- 1 teaspoon vanilla extract
- 1 cup semisweet chocolate chips, melted
- 1 egg
- 1 ½ cups all-purpose flour
- ¾ cup Dutch-processed cocoa powder
- ½ teaspoon baking soda
- 1 teaspoon kosher salt
For the filling:
- ½ cup (1 stick) unsalted butter, softened
- 1 teaspoon vanilla extract
- 1 2/3 cups confectioners’ sugar
- 1 tablespoon milk
- Pinch salt
Directions
- Combine the melted butter and sugar in a medium bowl and whisk until combined. Whisk in the vanilla and melted chocolate. Add the egg and whisk until combined.
- Combine the flour, cocoa powder, baking soda and salt in another medium bowl. Use a wooden spoon to stir the flour mixture into the chocolate mixture. (The dough will start to seem too floury — it’s easiest to switch to mixing the dough with your hands until it comes together. It will have the consistency of Play-Doh.)
- Let dough sit for about an hour at room temperature to firm up. Place the dough on a 15-inch square sheet of parchment or waxed paper. Shape with your hands into a rough log shape, about 10 inches long and 2 1/2 inches in diameter. Place the log at the edge of its sheet of parchment paper and roll the parchment around the log. With the log fully encased in parchment, roll it into a smoother log shape (still 2 1/2 inches in diameter). Refrigerate the log until firm, at least two hours. You may need to re-roll it every so often to maintain that nice, round shape, but it’s not the end of the world if they’re not perfect circles.
- Heat the oven to 325 degrees Fahrenheit. Remove the parchment from the dough log and slice the log into 1/4-inch-thick slices. Place the slices about 1 inch apart on a cookie sheet lined with parchment paper or buttered and bake for 20-25 minutes, until firm to the touch. Check them frequently after 16 or 17 minutes and poke them in the middle. As soon as they feel firm to the touch remove them from the oven. Let cool to warm or room temperature on the cookie sheet or a wire rack.
- Meanwhile, make the vanilla cream filling. In the bowl of a stand mixer fitted with a paddle attachment (or with an electric hand mixer), mix the butter on low speed for about 30 seconds. Add the vanilla and the confectioners’ sugar and mix until totally smooth. Add milk and a pinch of salt and continue to paddle until smooth. It will look like white spackle and feel about the same — like putty. Bring to room temperature before using.
- Use a tablespoon to scoop out a rounded tablespoon of filling and place it between two cookies. Press the cookies together to distribute the filling toward the edges and serve. The cookies may be stored for up to three days at room temperature in an airtight container.

Are you ready to try making homemade Oreos? Enjoy!
This story originally appeared on Simplemost. Check out Simplemost for additional stories.


